Fujitsu Keyboard
18 Jan 2020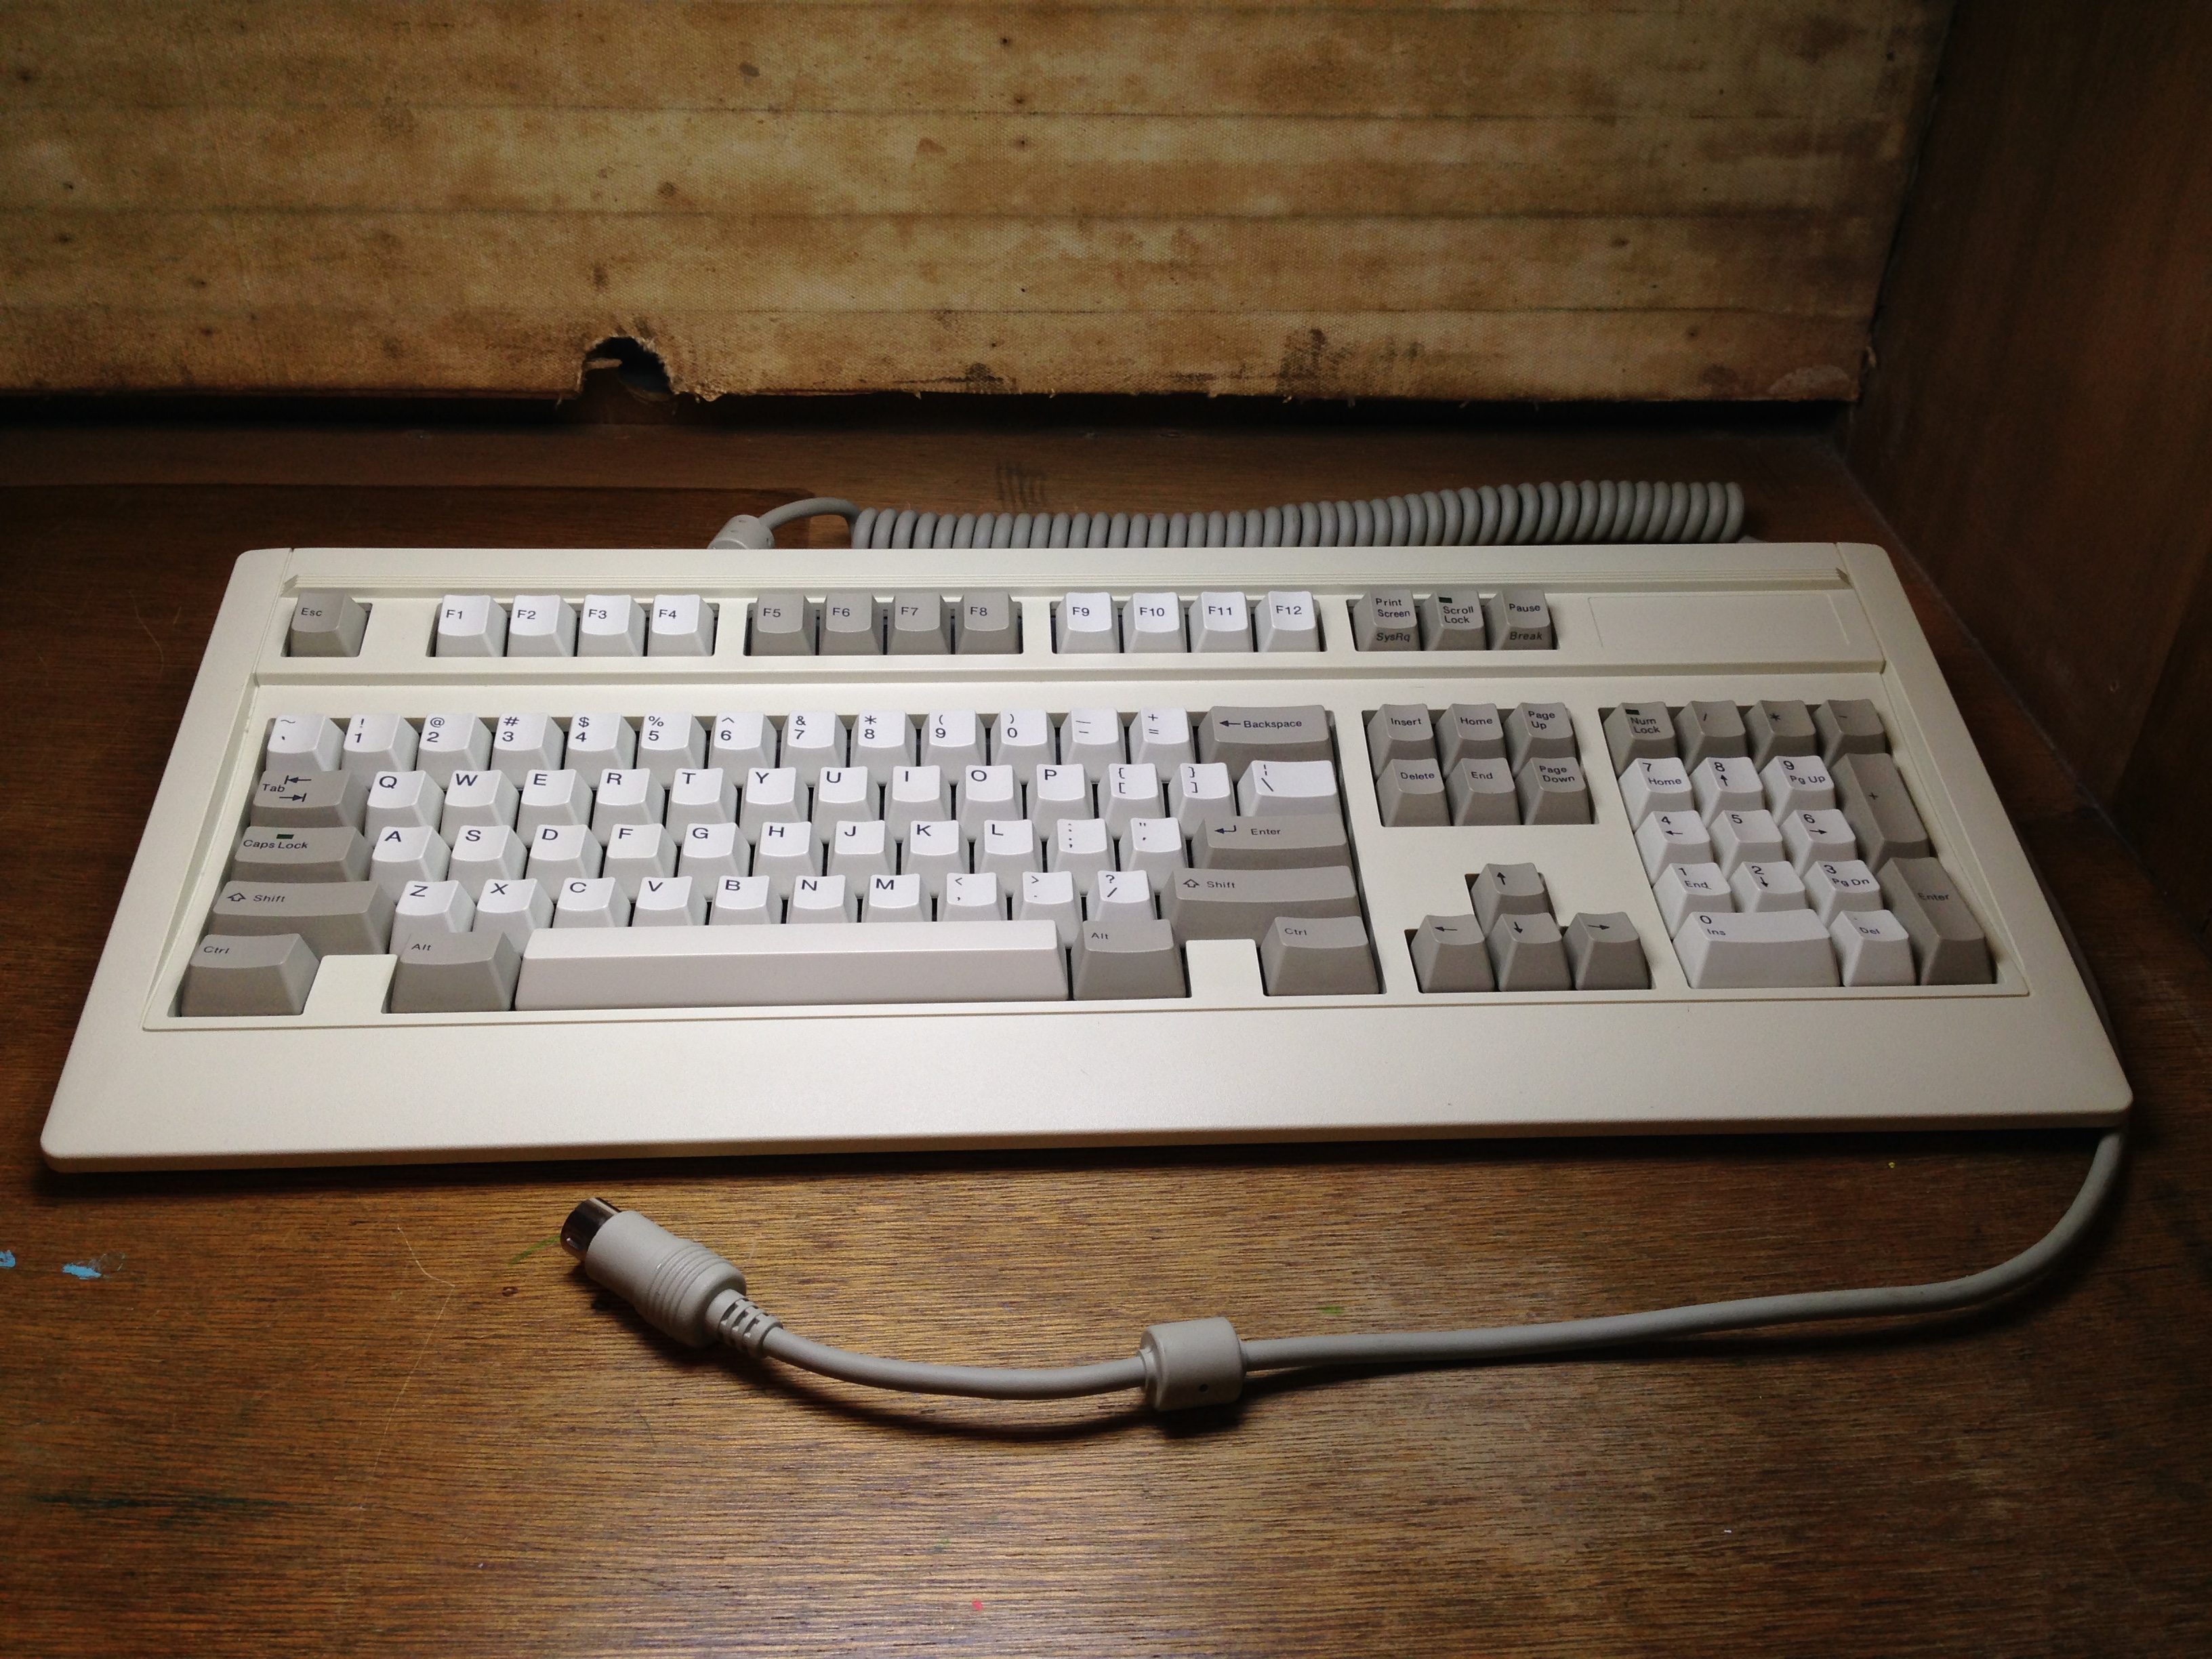
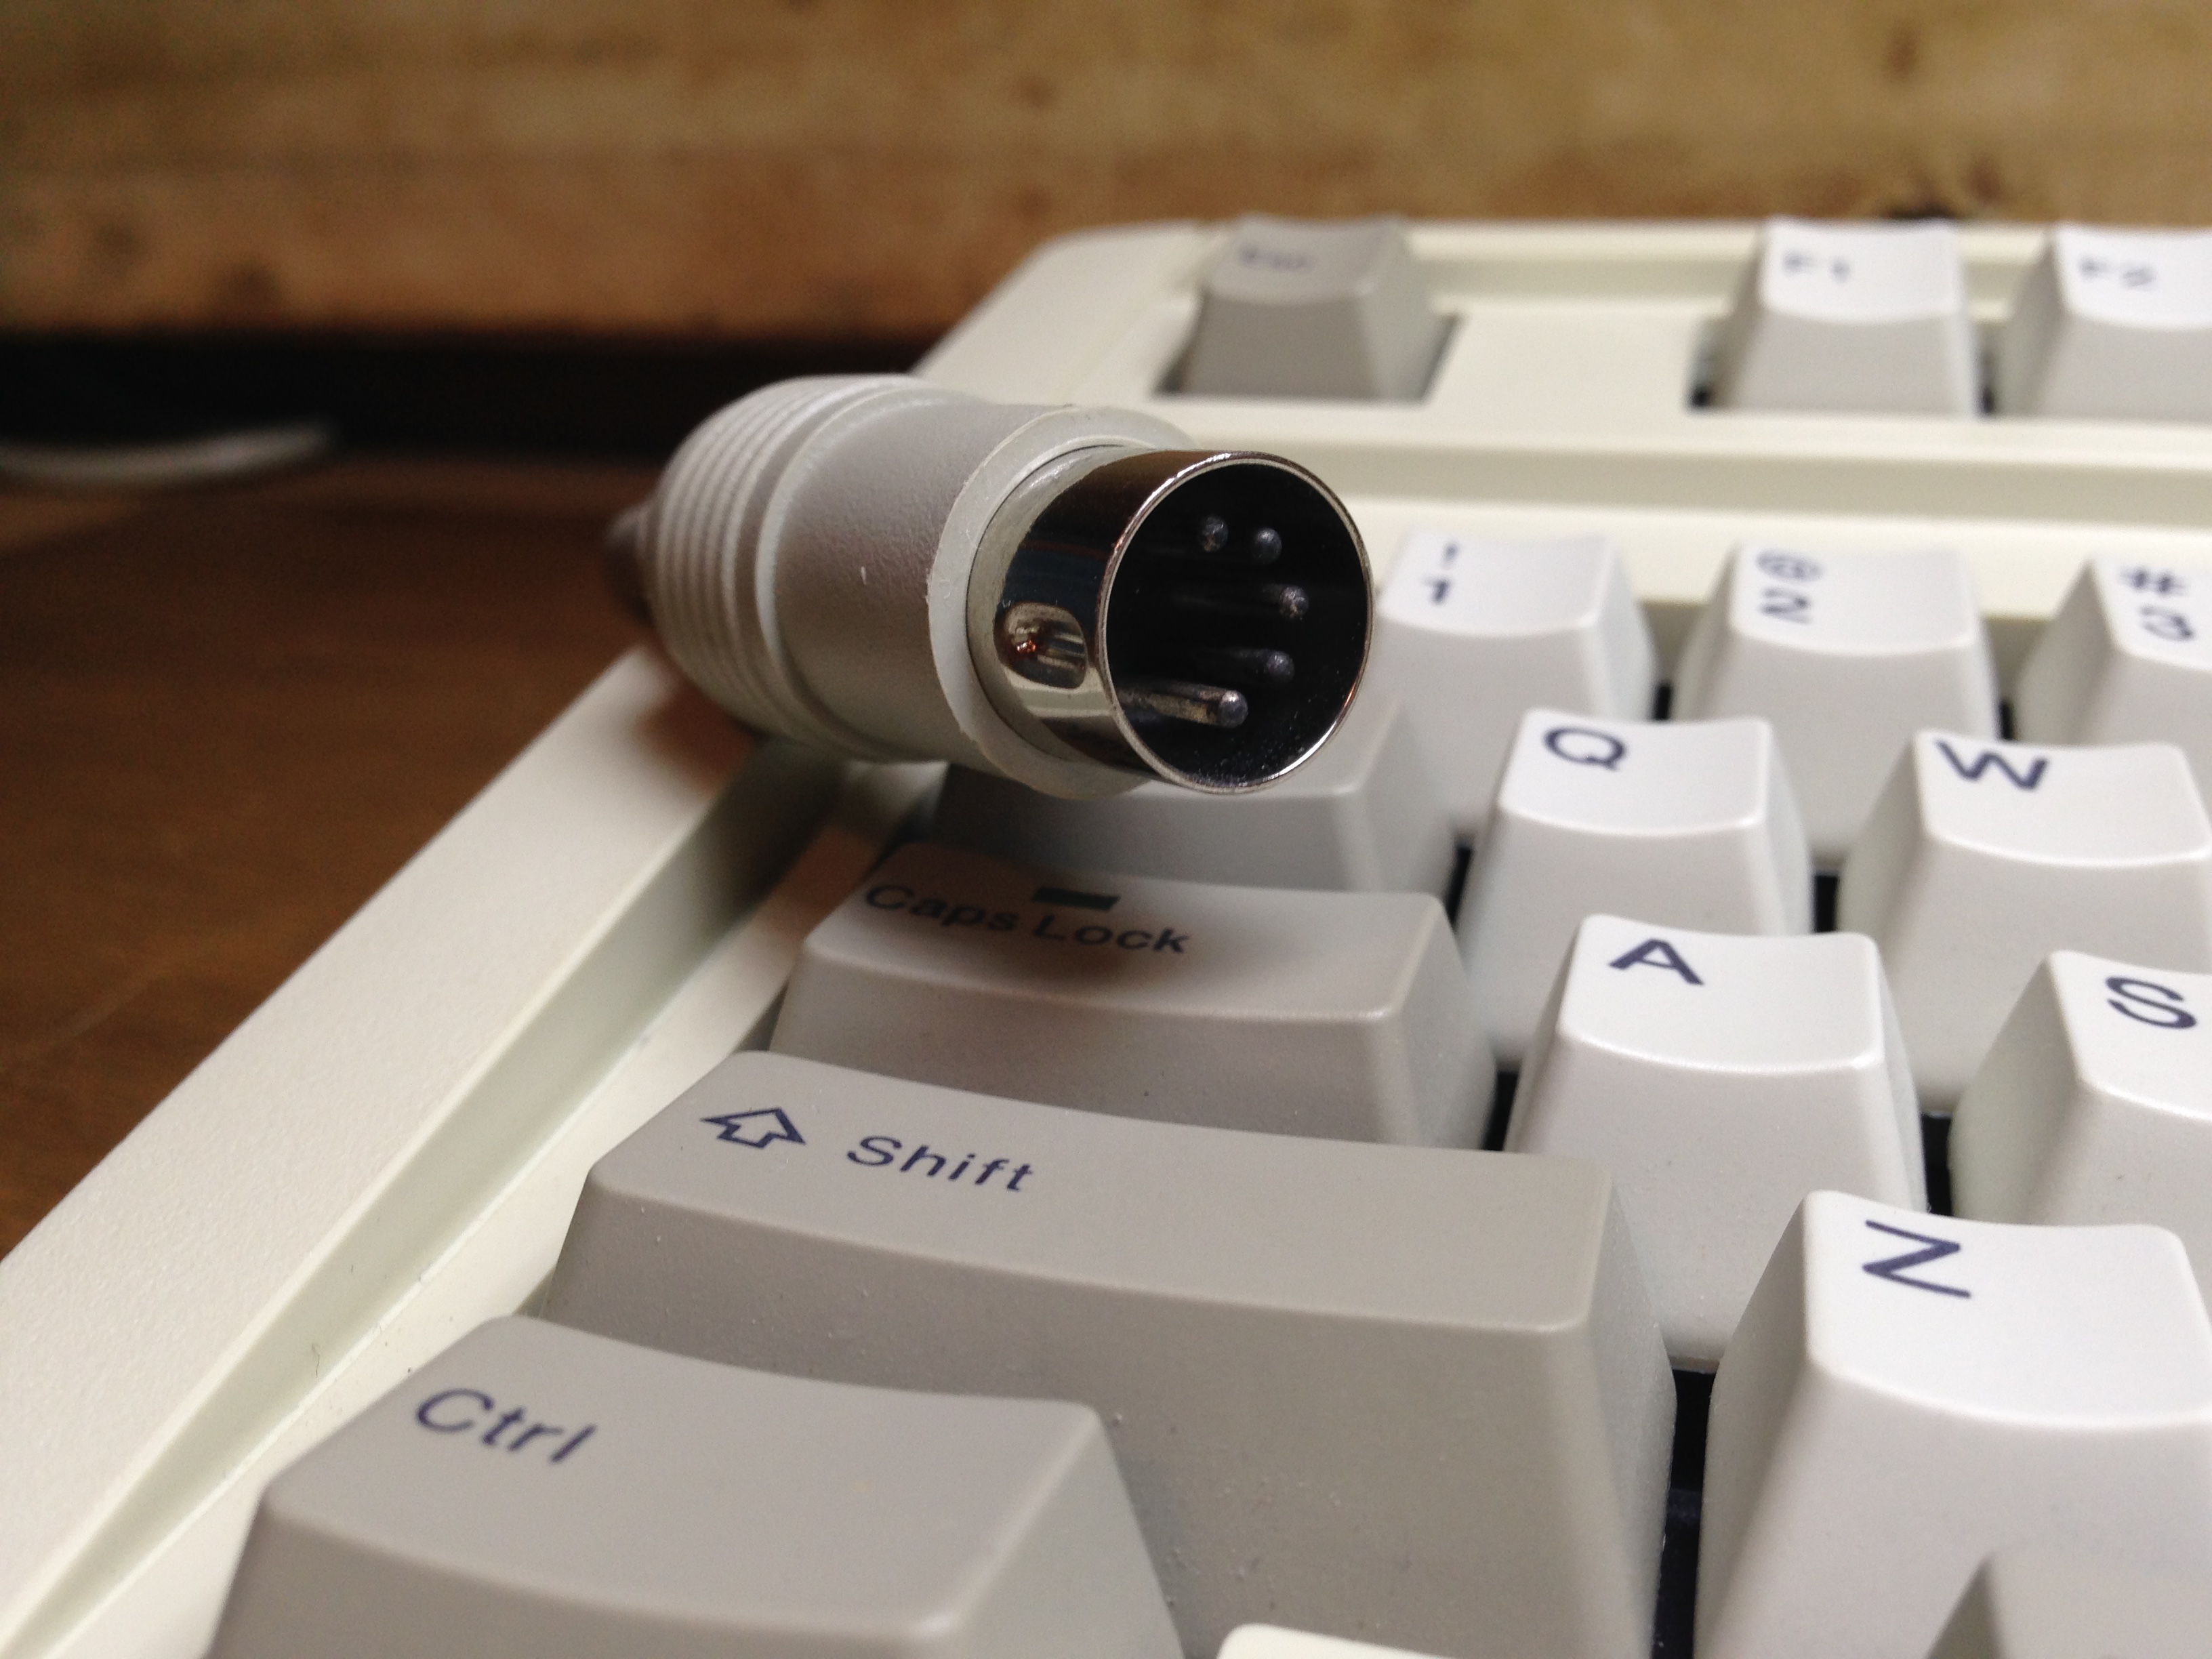
A few months ago I was looking through a thrift shop and found this 90’s keyboard with nice feeling switches. I bought it and planed on using it for my desktop computer. However, this keyboard uses the AT 5-pin DIN connector, so it is not as simple as buying a passive adapter and plugging everything together and calling it a day. This is how I made it work.
Parts List
- Fujitsu FKB4700
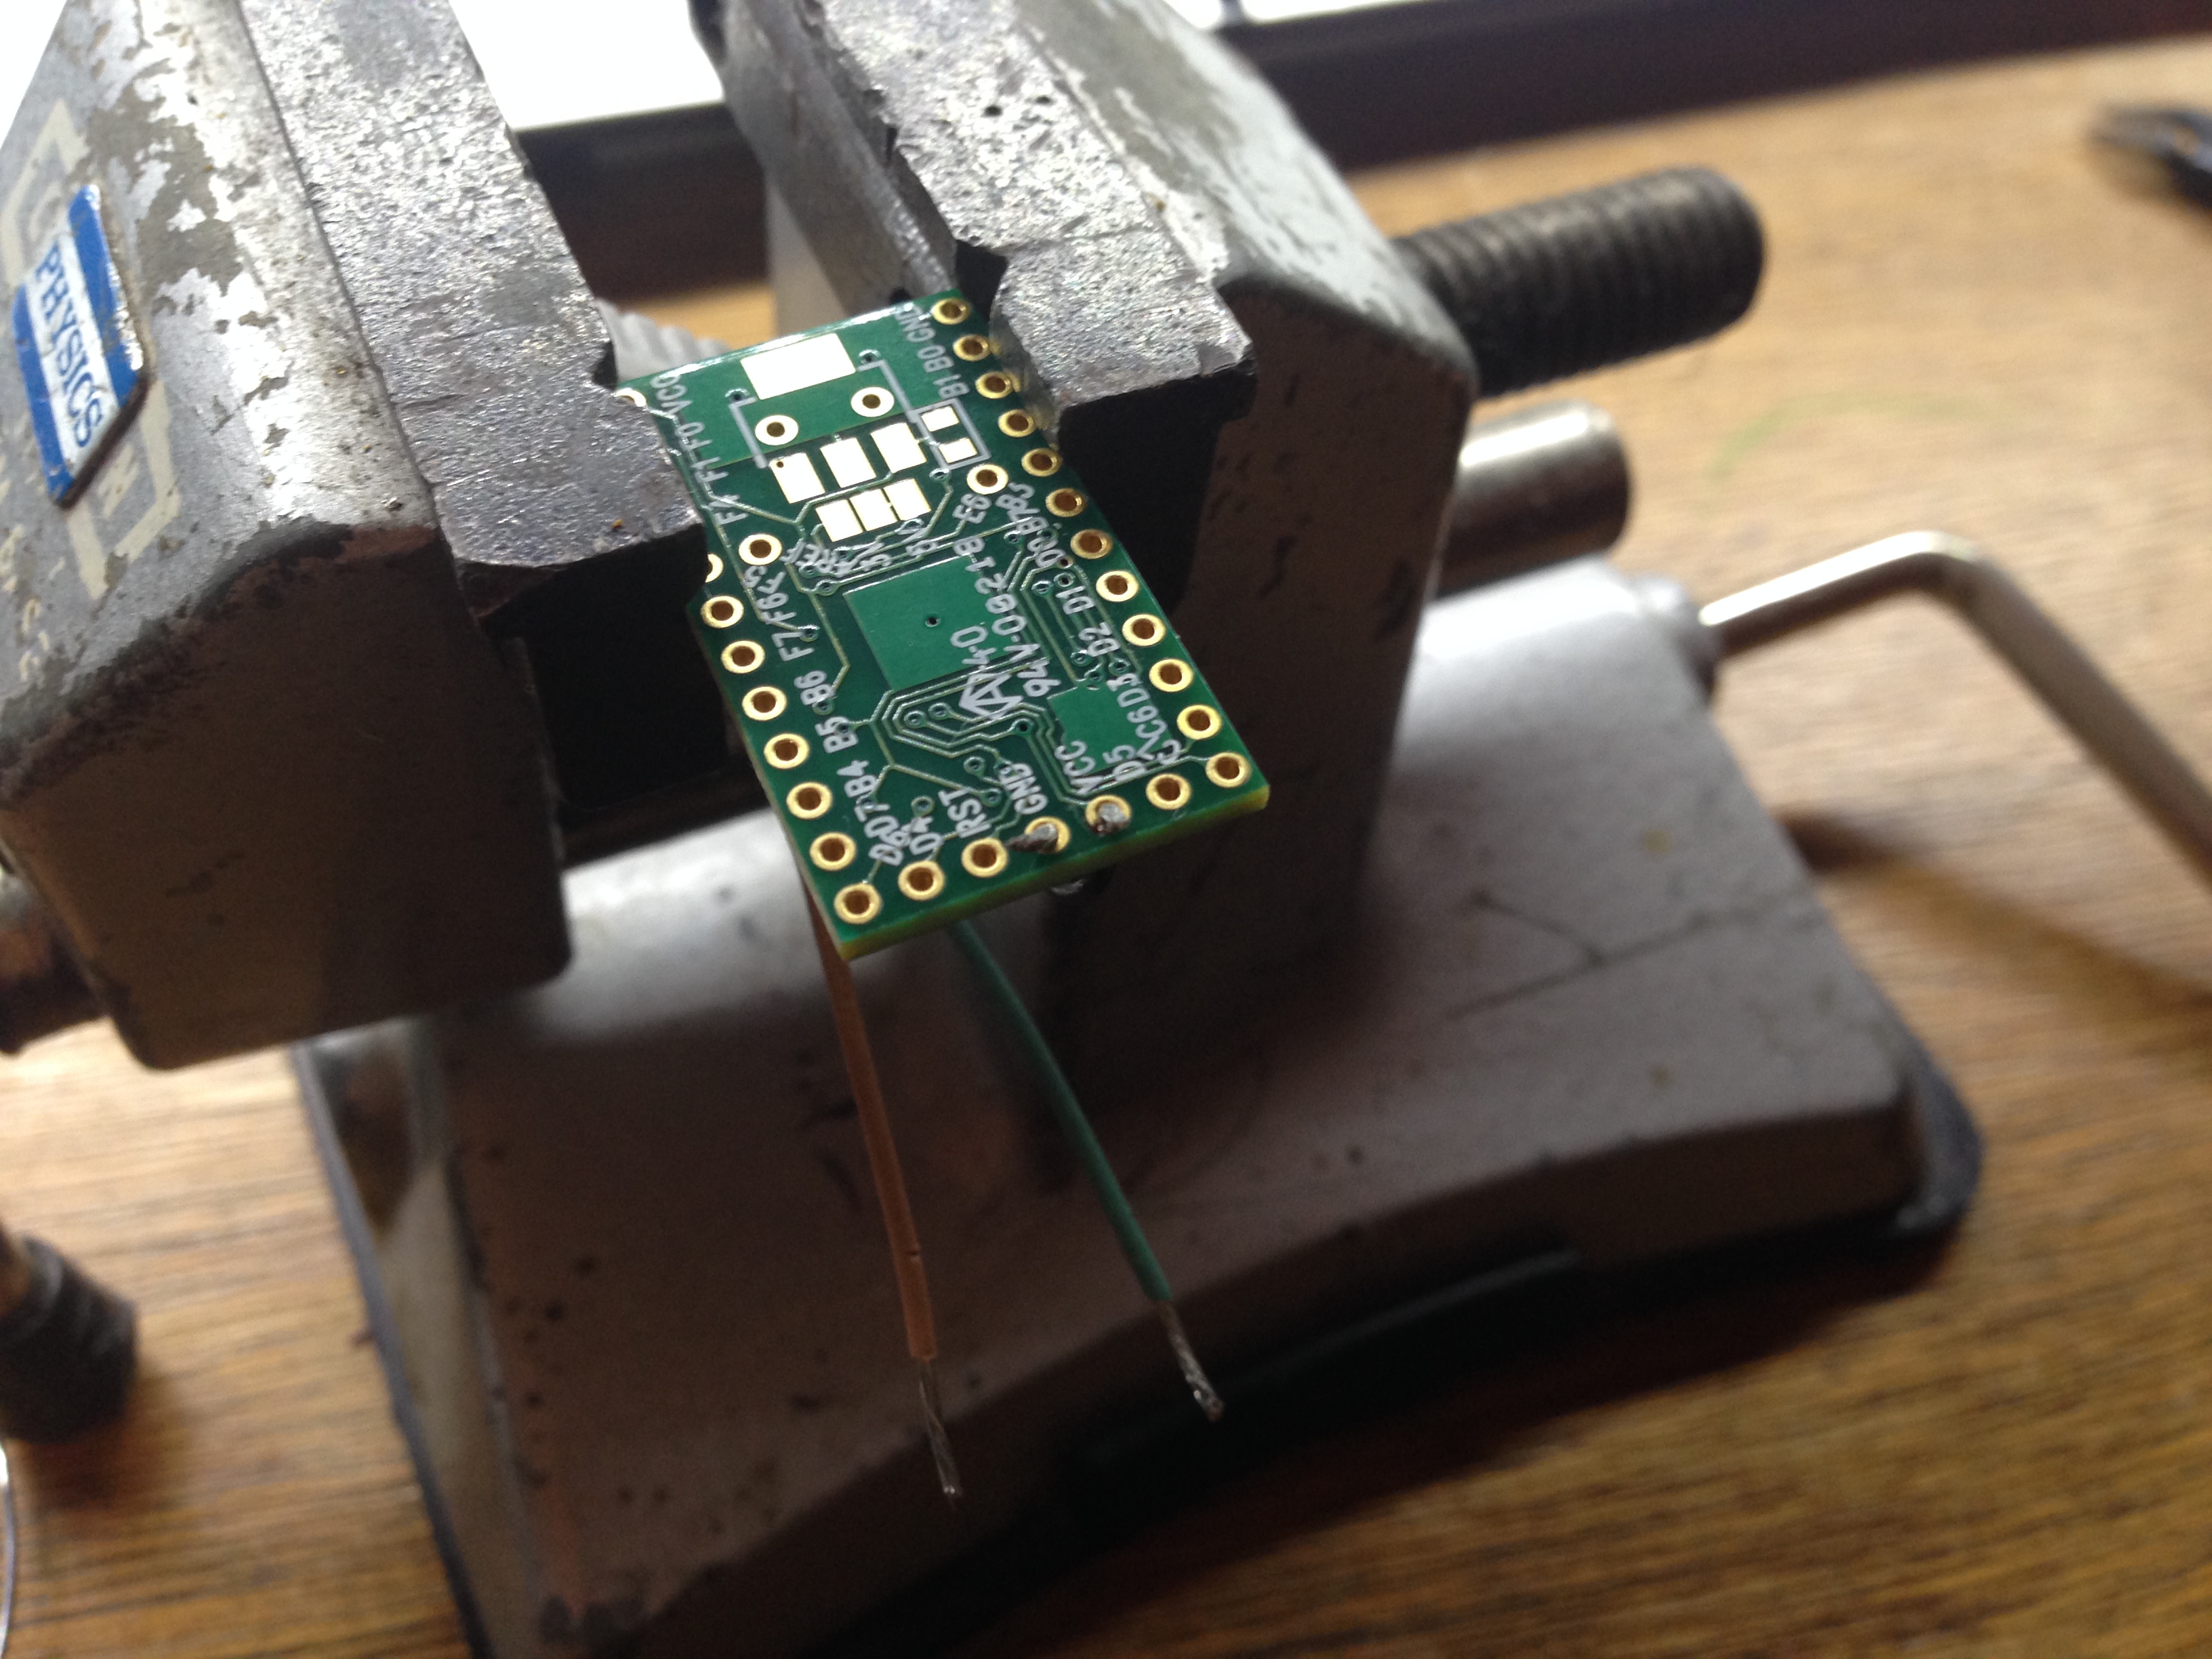
- Teensy 2.0 USB Development Board
- Panel Mount USB B Socket To Mini USB B Cable
To convert from the AT out of the keyboard to a USB input for a modern computer to understand, an active converter must be used. Thankfully others have done this before me. Soarer, a user on the deskthority and geekhack forums has posted code for a converter.
Using the Teensy Loader Application I loaded Soarer’s converter onto the Teensy.
Now to hook everything up!
I disassembled the case, cut the AT cable, and stripped the wires back.
Then I soldered them like this:
| Keyboard OUT | Teensy |
|---|---|
| GND | GND |
| Vcc | Vcc |
| Data | D0 |
| Clock | D1 |
Had to be extra careful because the colors were going against convention. Black was VCC and Red was GND in this cable. :/
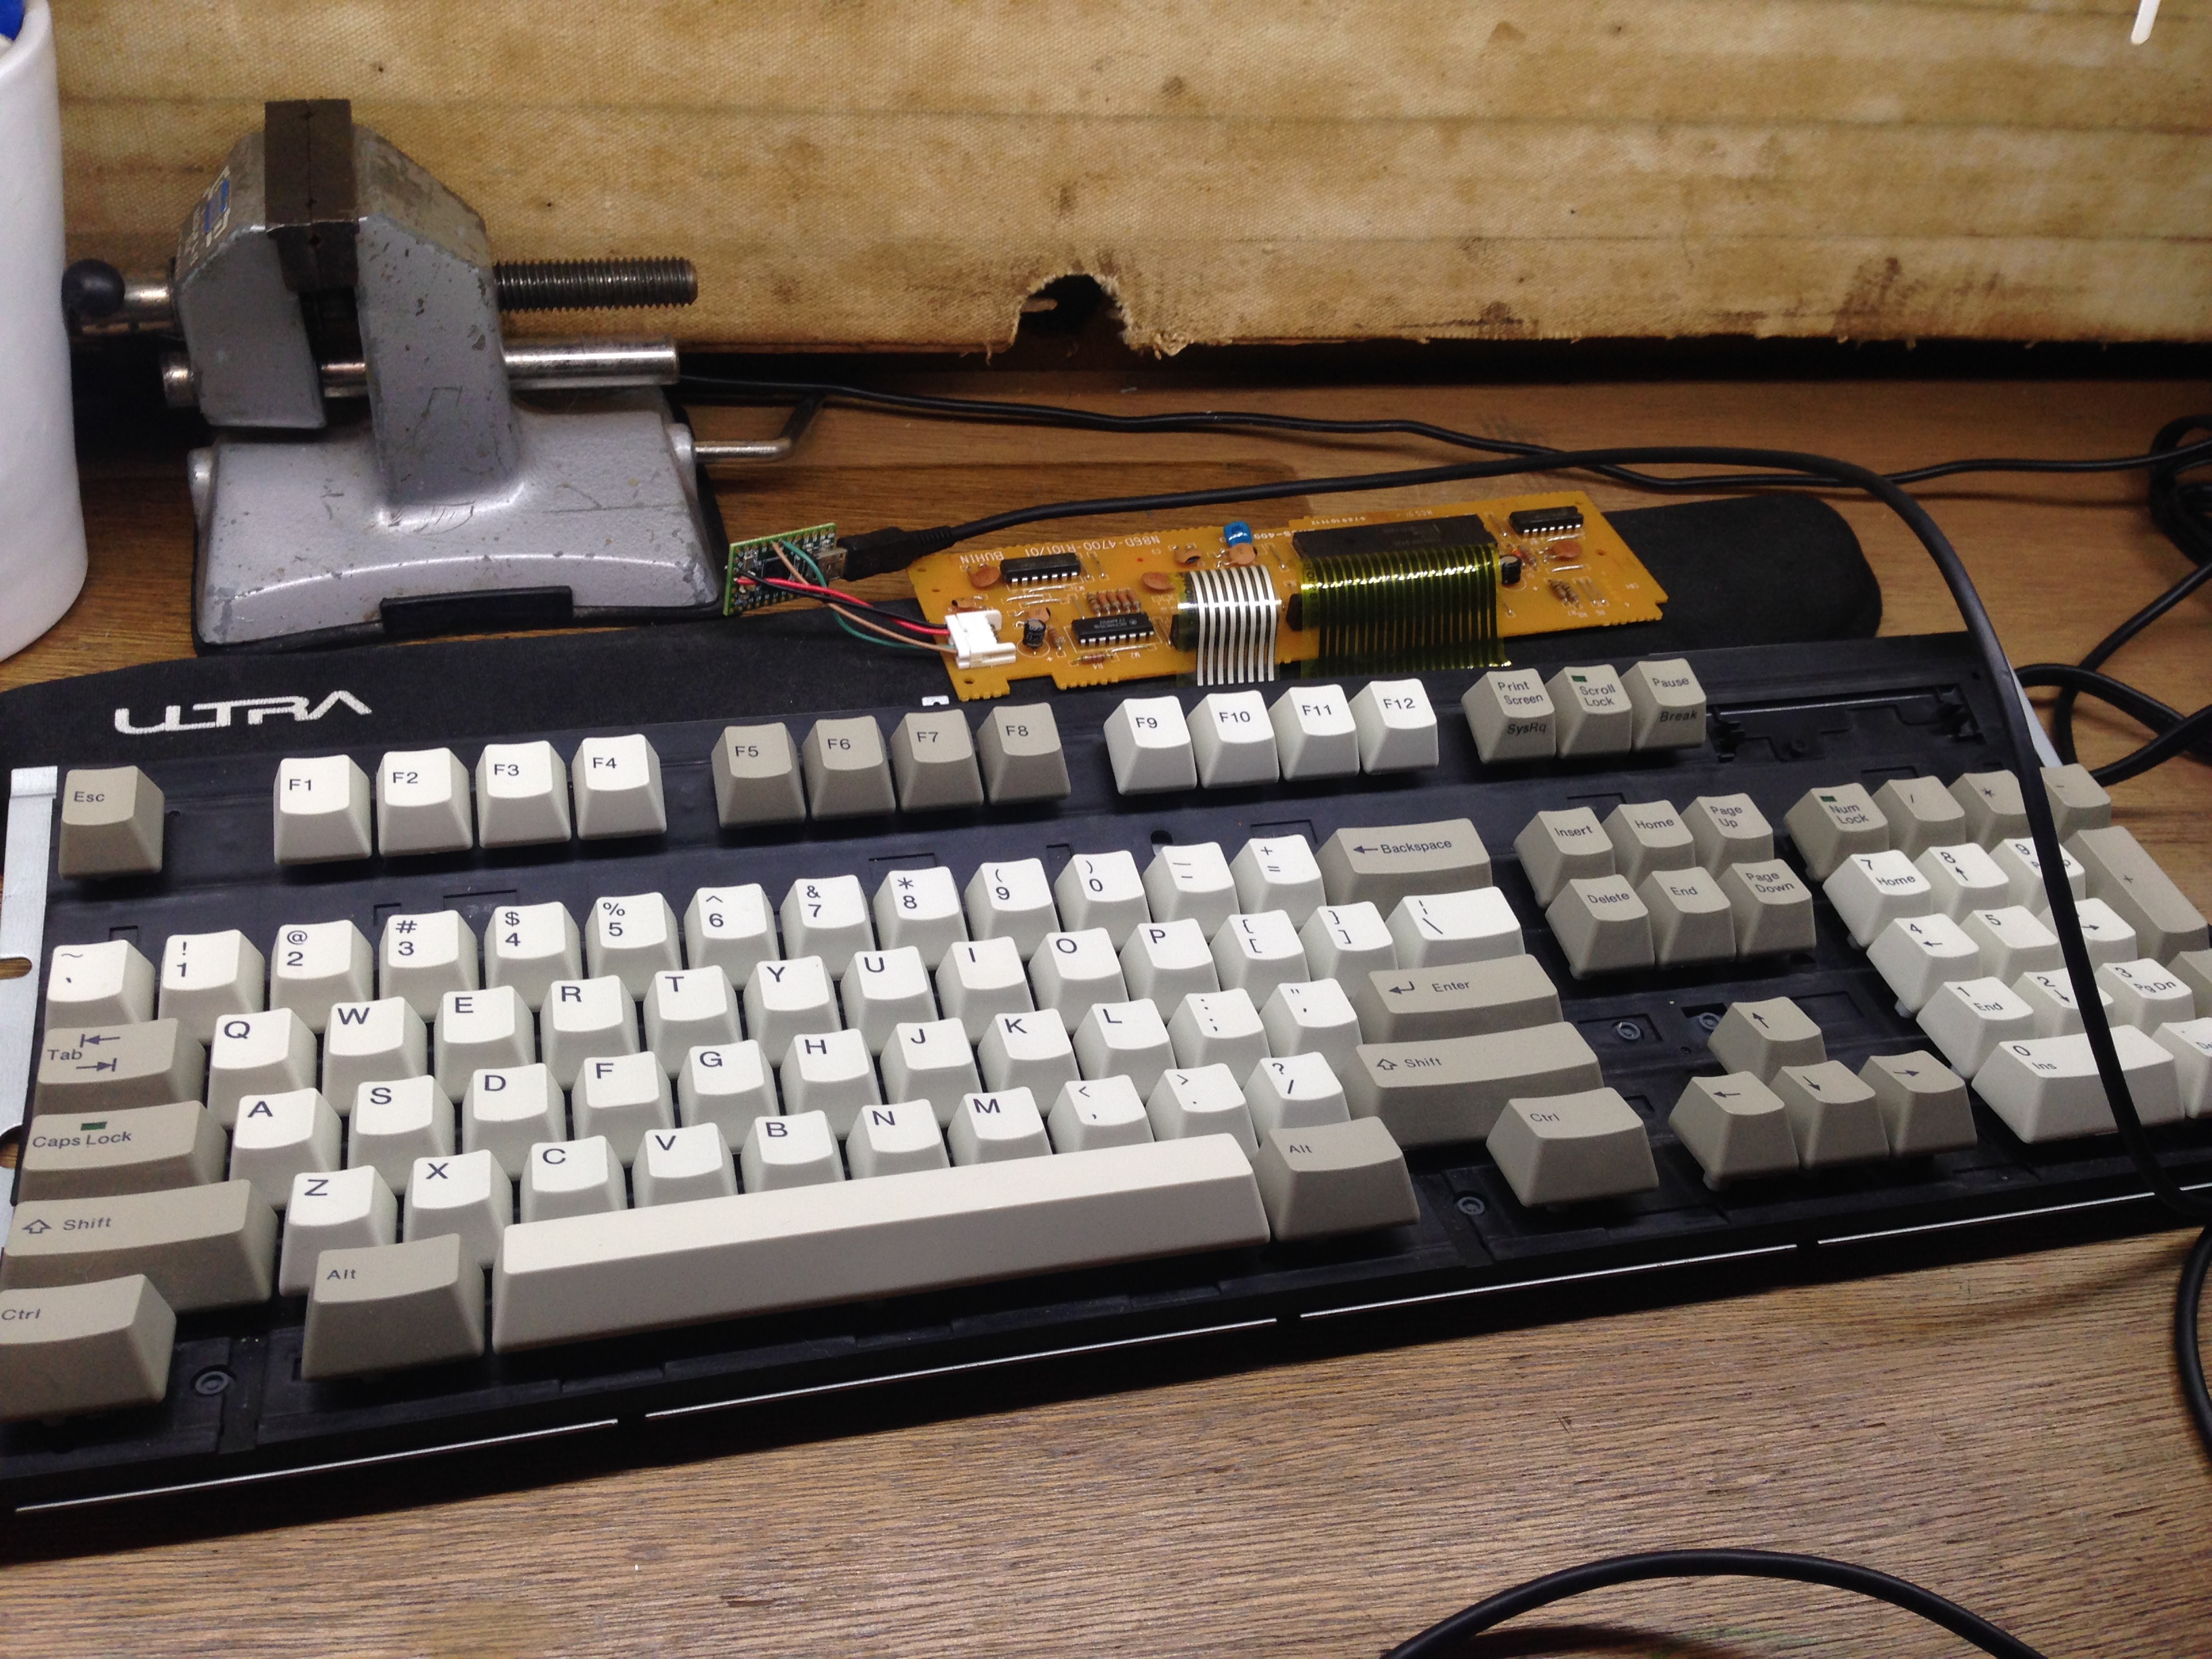
To make the install cleaner I filed a square hole for my panel mount USB connector in the back, then reassembled the case.
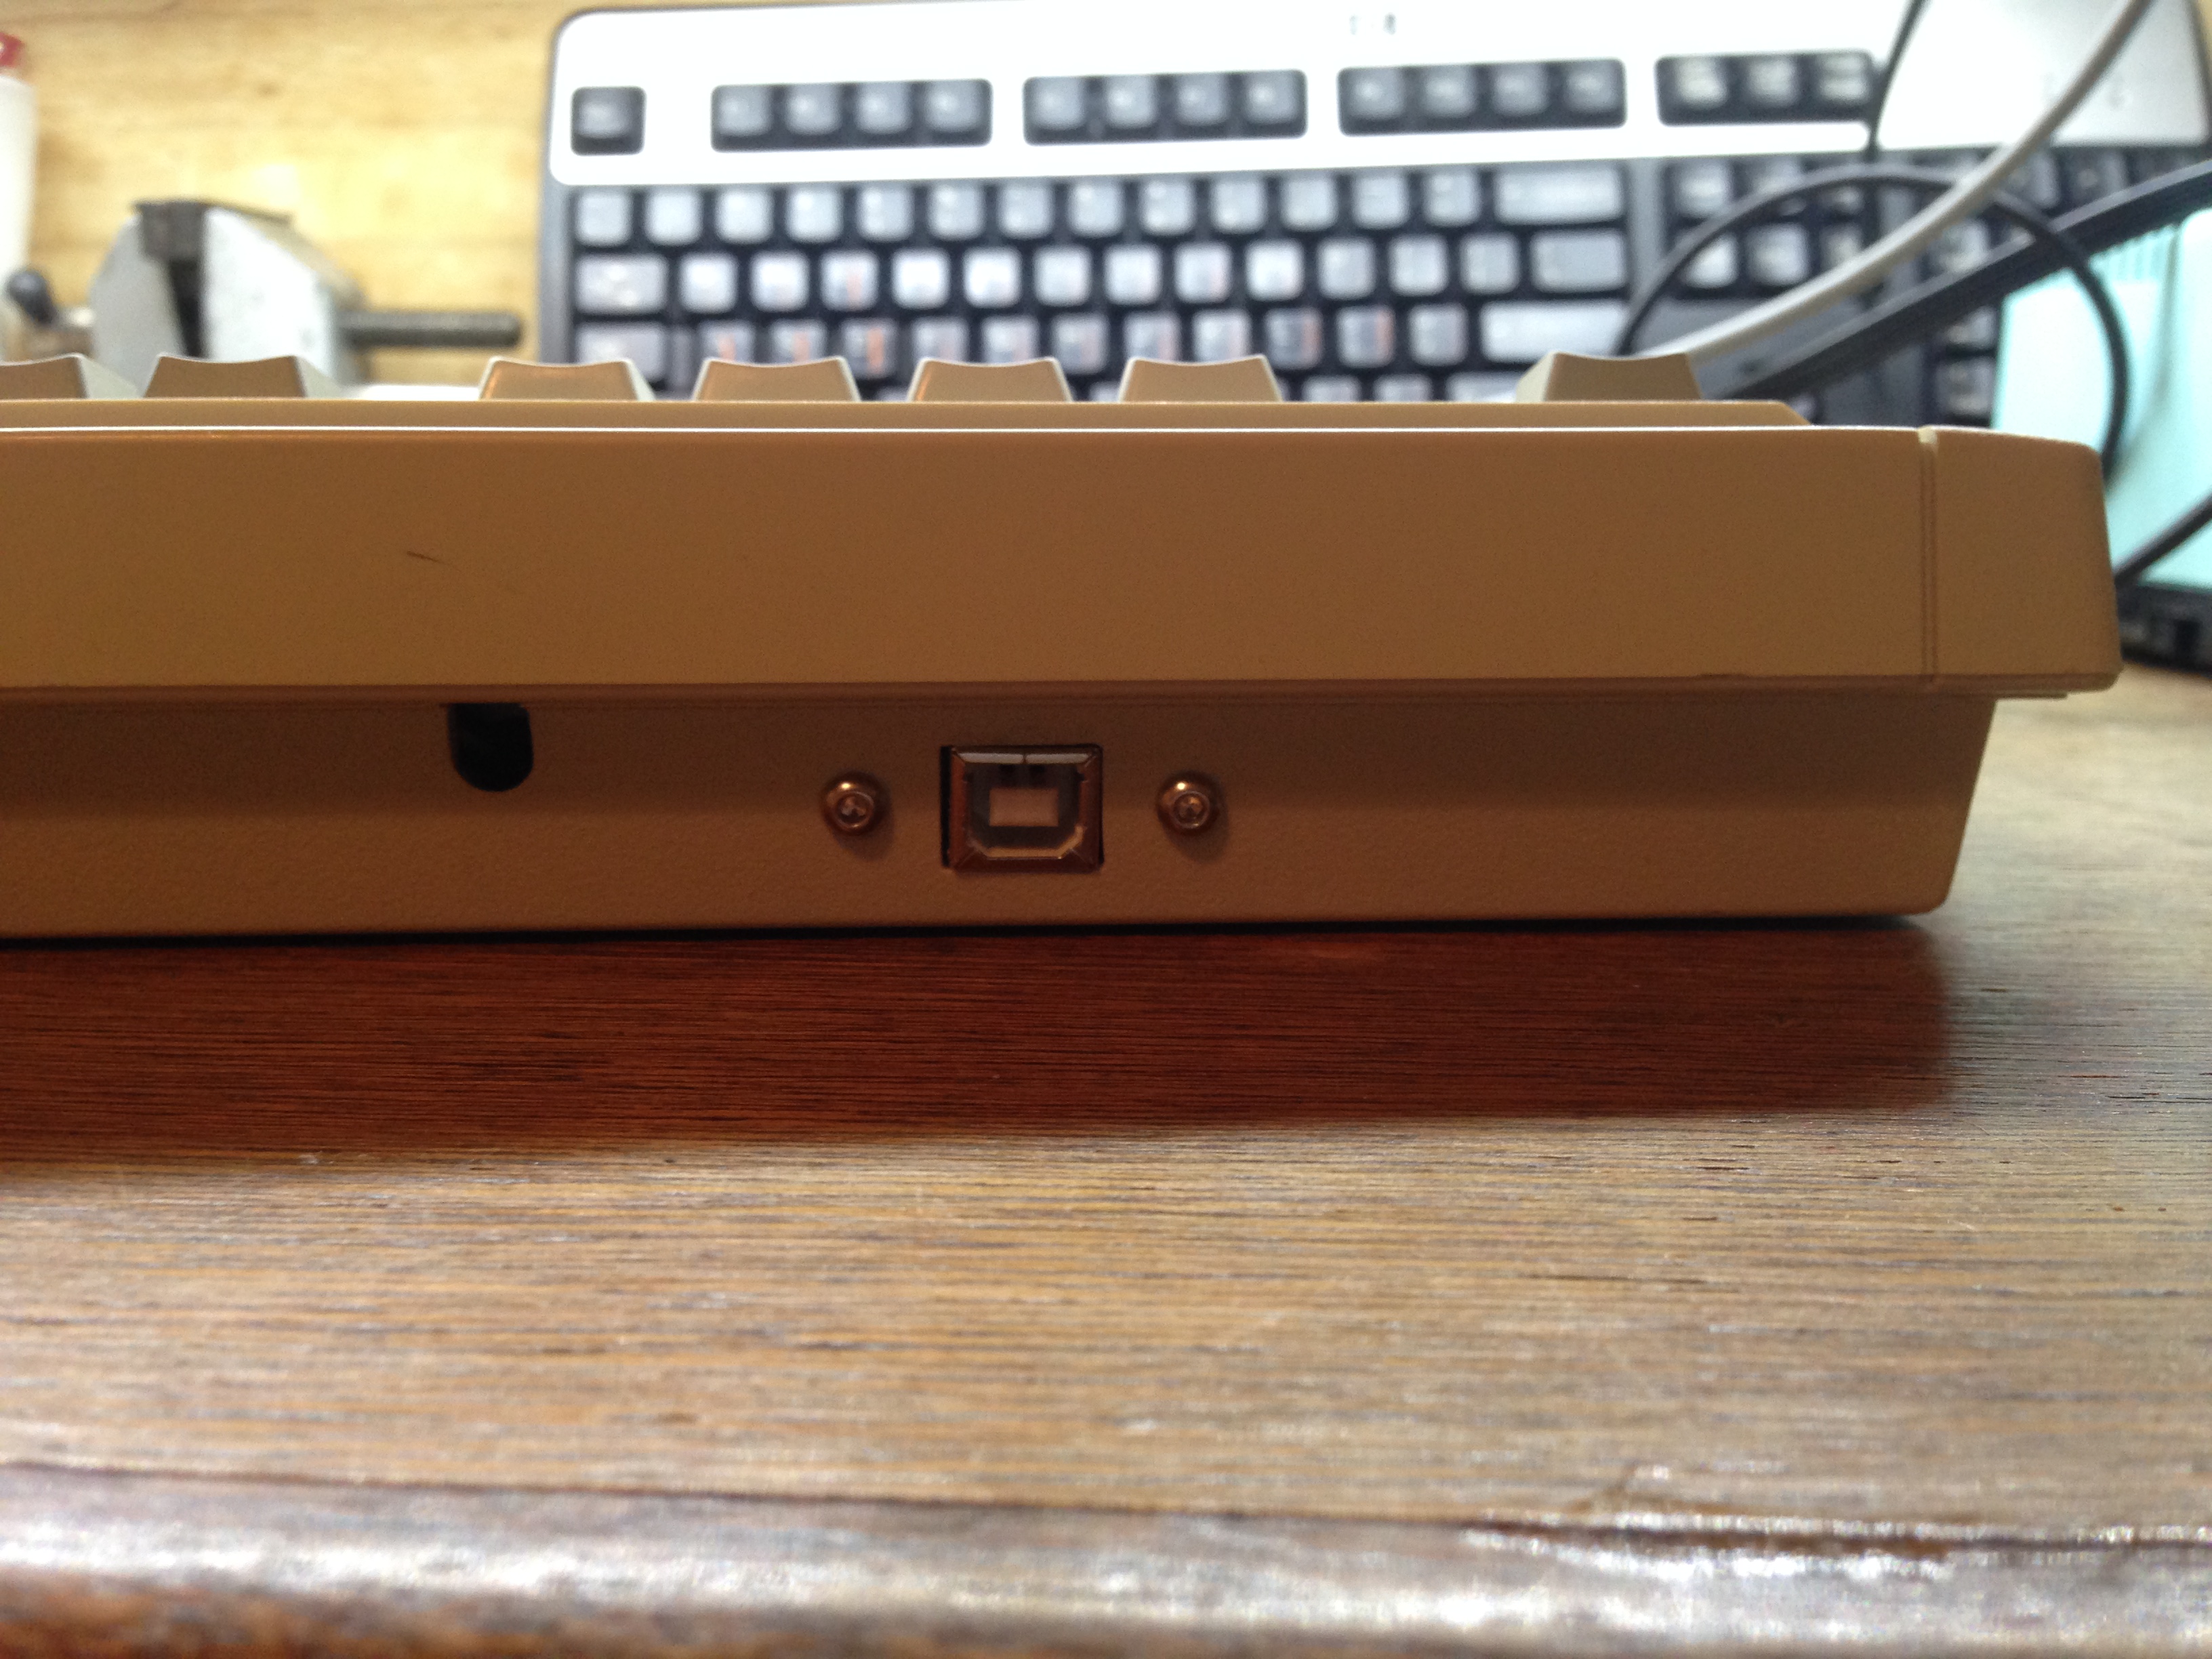
Finally plugged in to my computer, it worked perfectly! No bugs, no oddities, just plain works on my Linux machine and just plain works on Windows too. Even the LEDs in the caps/num/scroll locks work.
Yay!